DIY Rear foglight
Hello everyone!
I decided to write a DIY, my first one ever. I guess i just never took time to take detailed pictures of what i do and share with others but i really appreciate the community over here so i decided to use my spare time at home and write this up for folks that need a hand at it!
i am writing this as it goes and will modify it till its fully done up so bare with me for now!
first thing first, make sure you have the following tools:
-Jack
-Jack Stands (please use them for your safety)
-8mm wrench
-10mm wrench
-Flat tip screwdriver
-Hole saw
-Dremel (rotary cutting tool)
-soldering kit
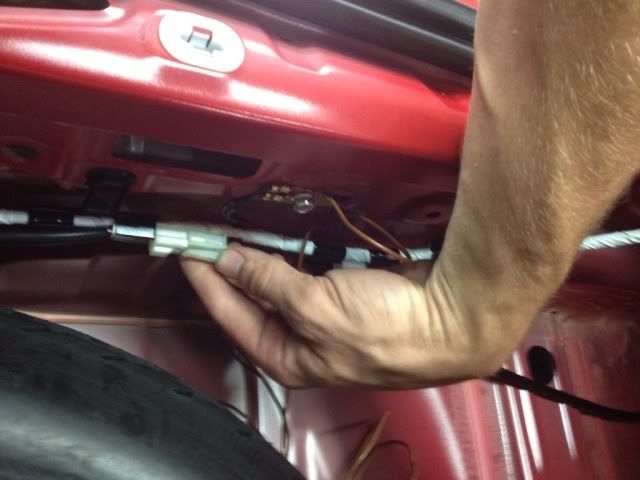
-wire skinners/cutters
-electrical tape/heat shrink
-6mm circle connector for ground and male/female for + on tail light
0. raise and support car
1. start off by removing the two back-up light sockets

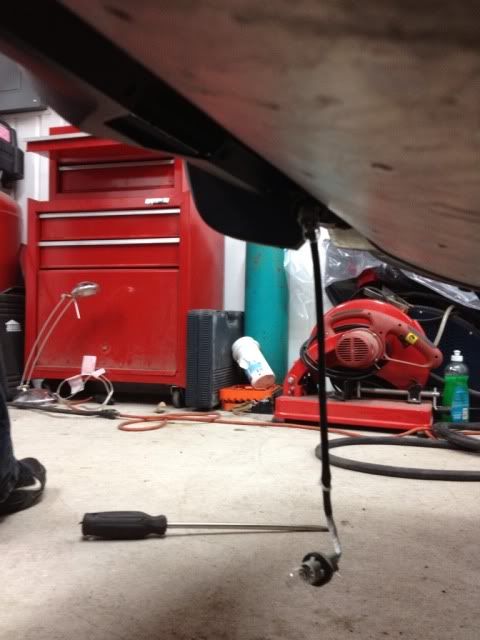
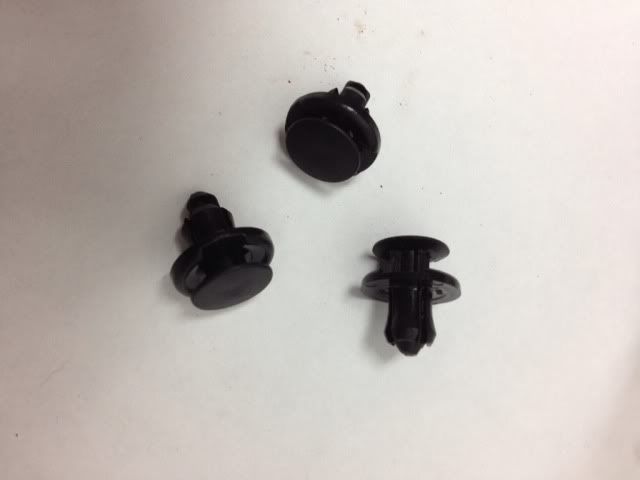
2. using your flat tip screwdriver, pry out the pushpins.

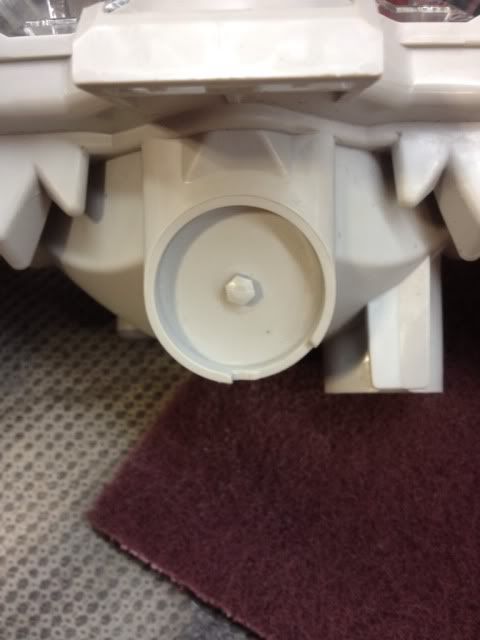
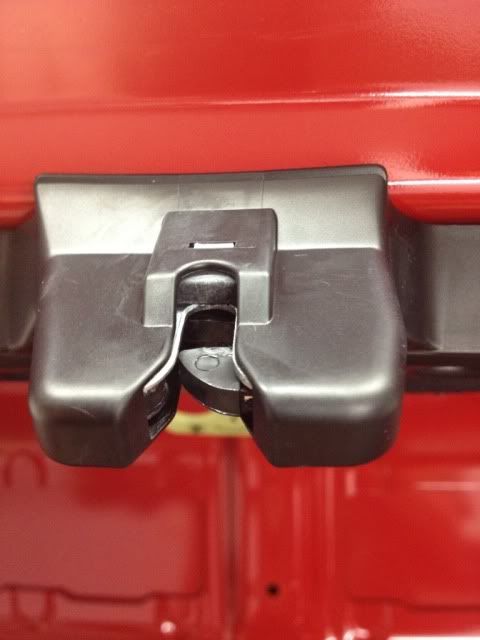
3. take your 10mm wrench and remove the 2 bolts seen on the picture below.
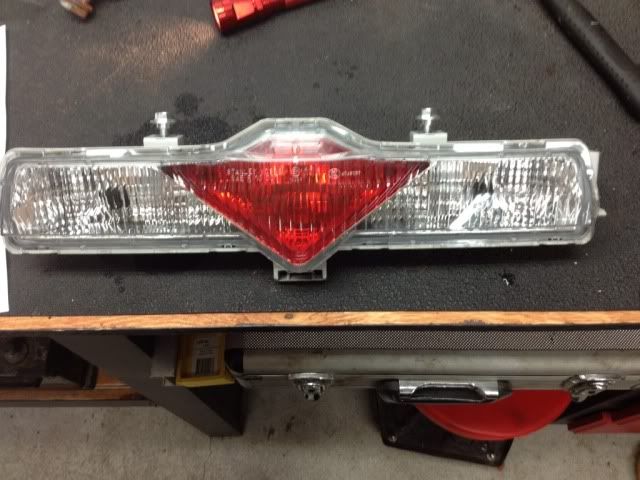
4. using your flat tip scewdriver again, pry open gently the two tabs at the bottom of the lighting assembly. this is not easy so be patient, keep in mind that you dont want to break anything on your brand new car!
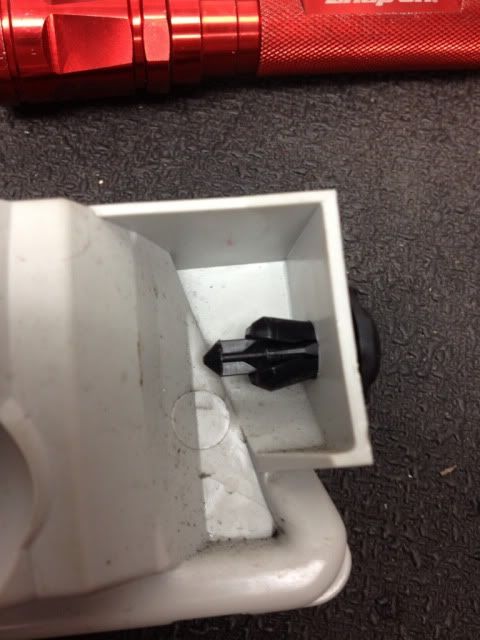
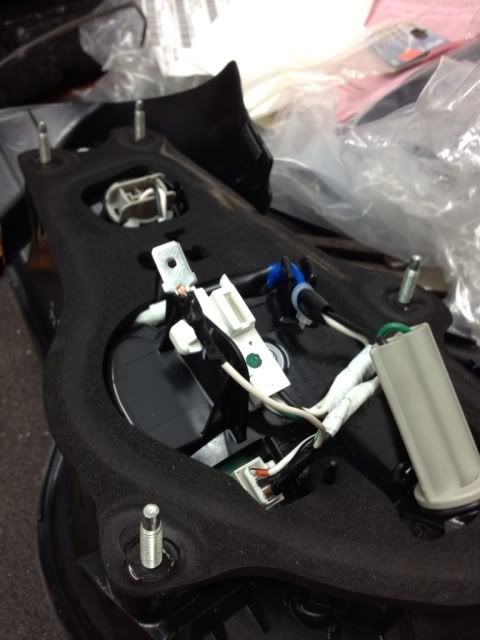
5. Locate the area that you need to make a hole
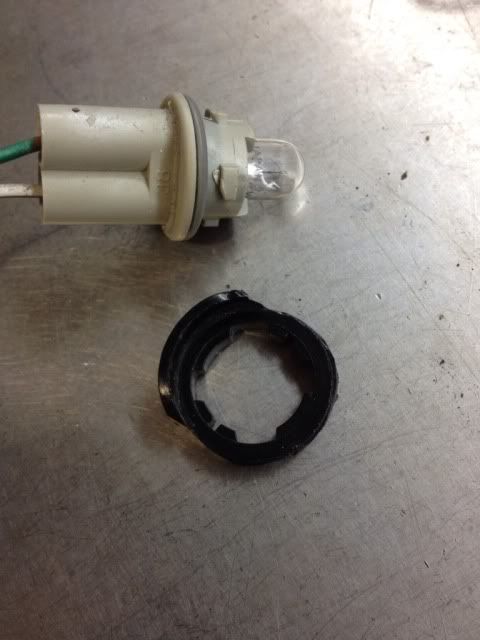
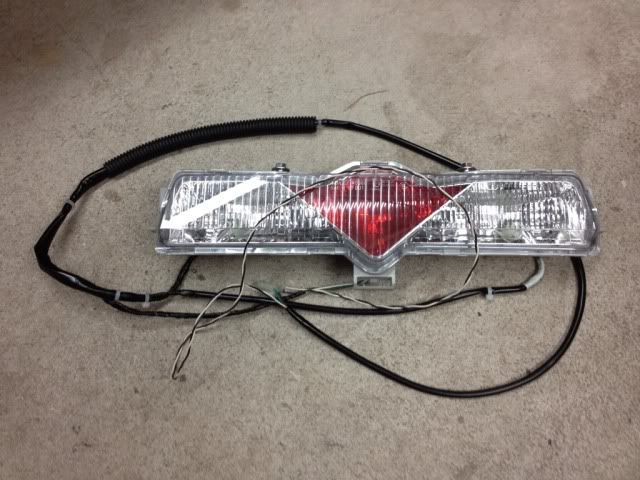
6. Source out an old corner light with the bulb and socket. Cut the old corner light and use for template. Cutting the housing will make some plastic dust in the unit, just blow it out through the hole you just made AND the back up lights holes. Do not attempt to open the housing to clean it or i promise it will break!
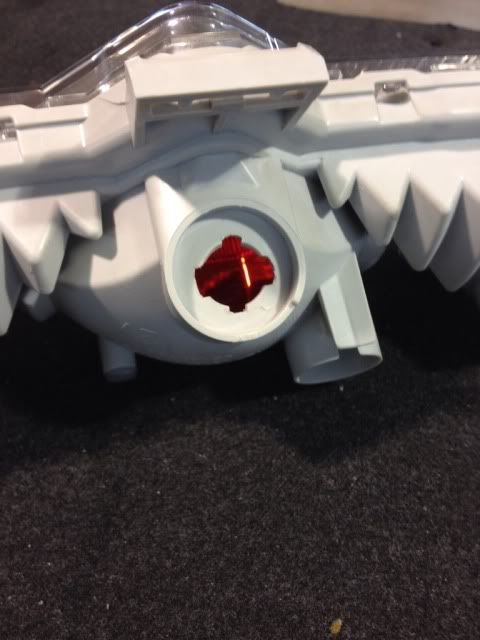
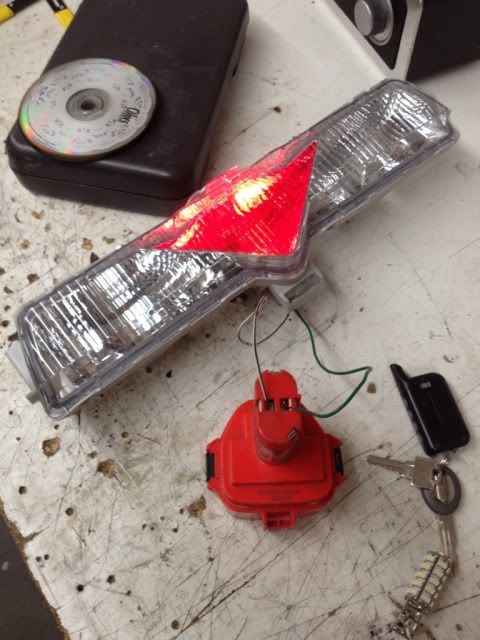
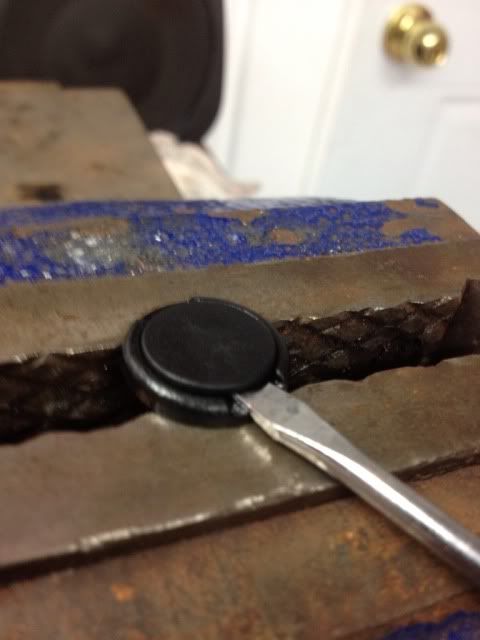
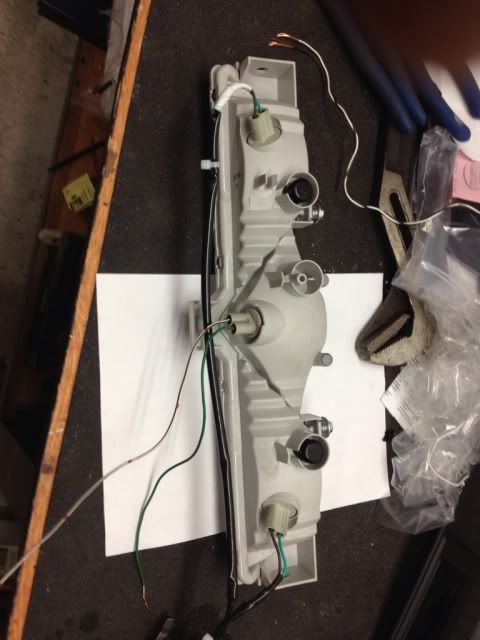
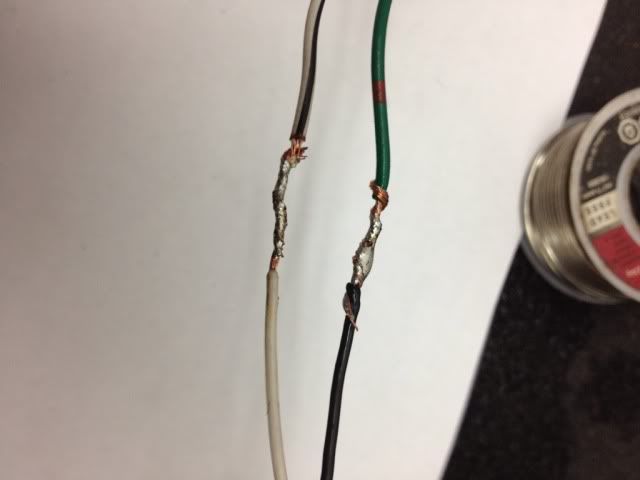
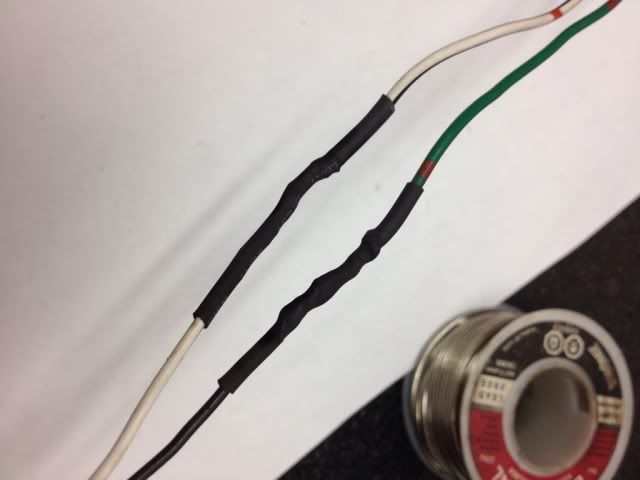
7. Once the hole is done insert the socket and bulb, skin your wires and test the results.
8. Open the trunk, take the carpet out and then using a srewdriver pry the trunk latch close in order to save your battery life.
9. Remove the drivers side tool tray by grabbing it with two hands and pulling upwards. You will then hear a loud POP but dont worry its normal

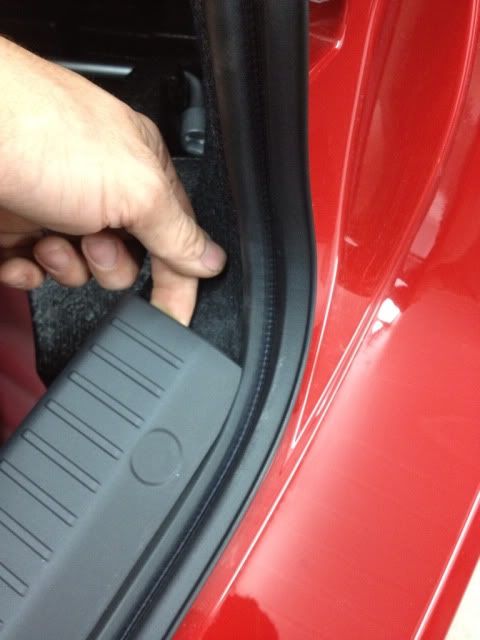
10. Now take this piece out by prying out the 3 pushpins and then pulling the piece upwards
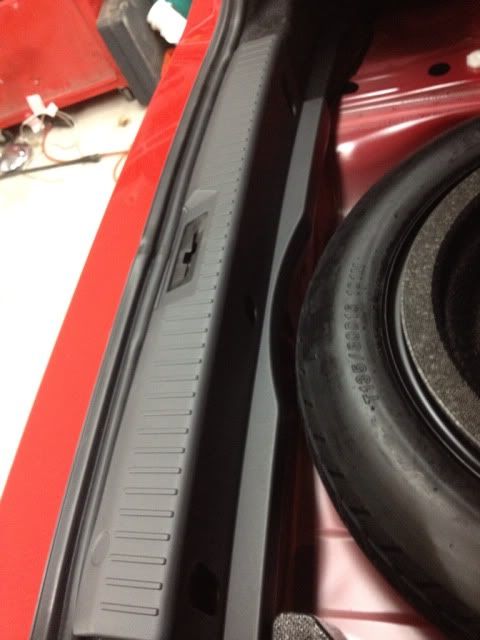
11. Now take out the inner side cover by taking out the clips just like in the previous step.
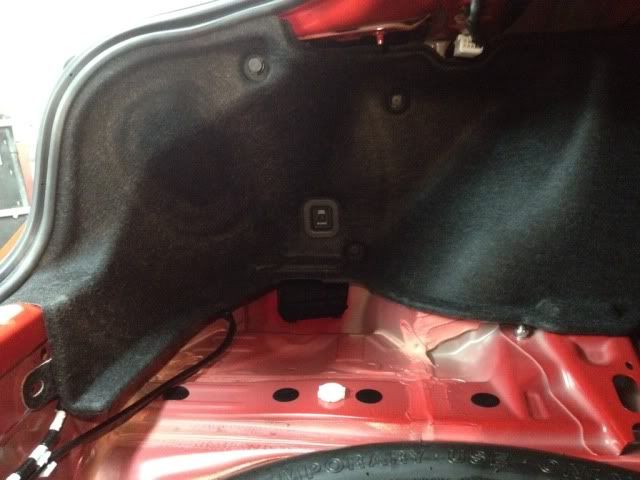
12. Disconnect the trunk bypass switch
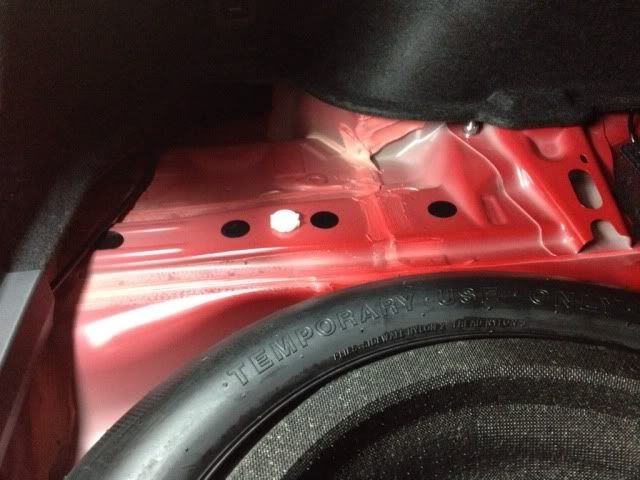
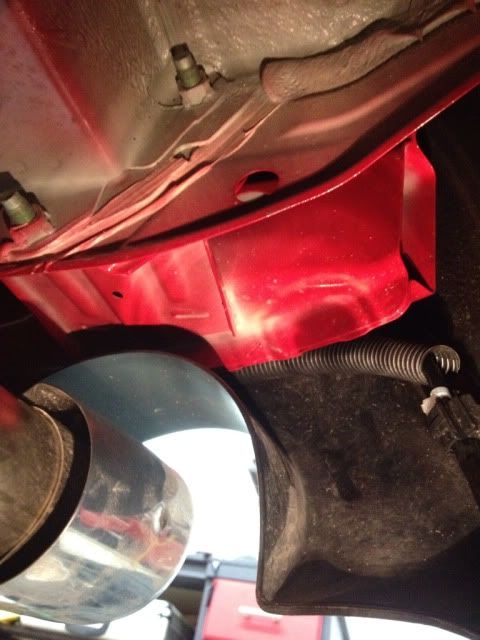
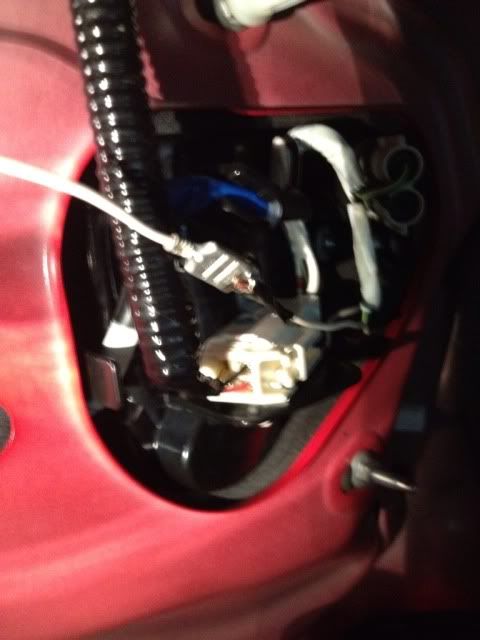
13. Disconnect the backup light connector located below the trunk latch hook. Follow the harness to the grommet and pull it put from underneath the car
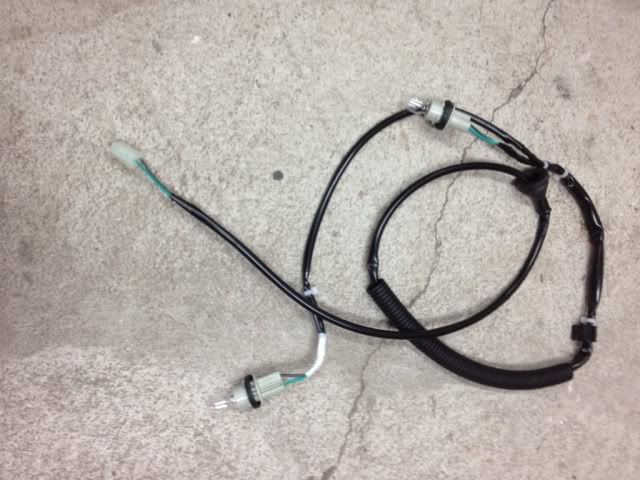
14. Put the sockets back in the assy and solder 2 very long wires approximately 5 feet long. Then remove zip ties from the harness and feed a steel wire starting from the connector. You could also just tape them around the harness. When you are done feeding the wires in the harness put back new zip ties in the exact same location.
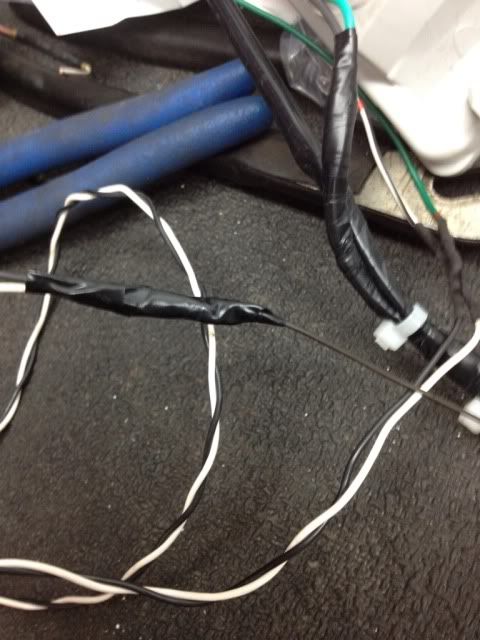
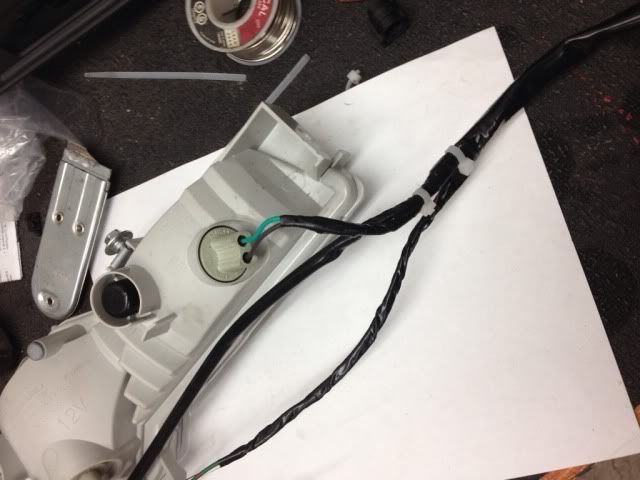
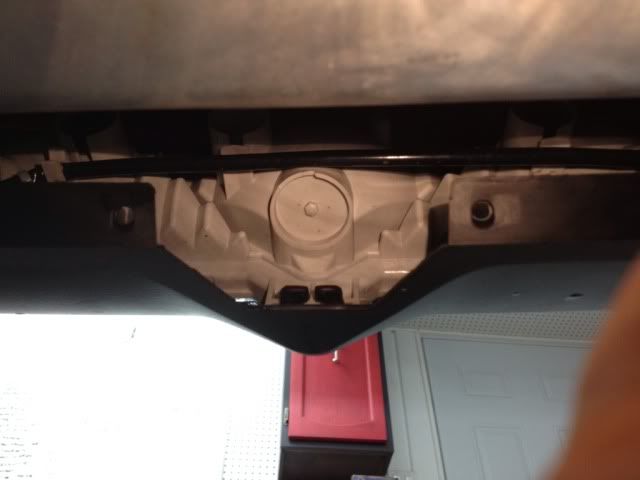
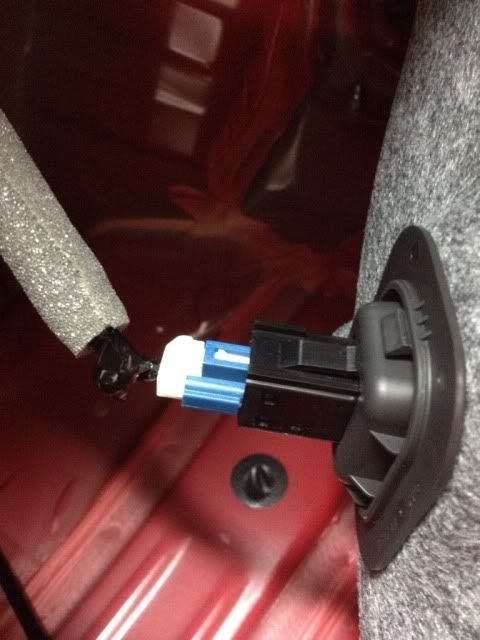
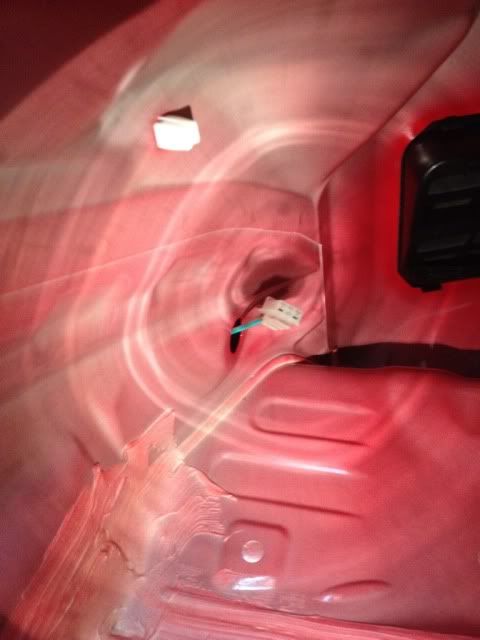
15. Install the lighting assembly and feed the harness the way it was. Make sure the plastic protection is place like the picture below. Then get back in the trunk and cut the ground wire to the desired lenght and hook it up to the oem grounding point where the connector is located.
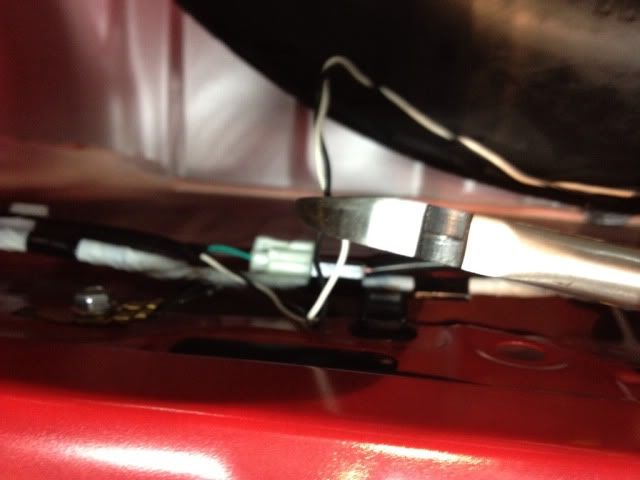
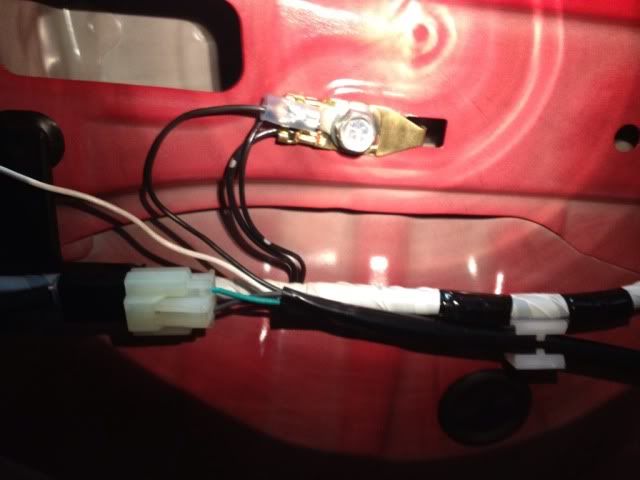
16. Remove the drivers side tail light and skin a small piece of the green/yellow wire and install a short wire and connector. This way, your tail light will be removable in the future without having to cut any wires. Once hooked up protect your connector with tape or something simillar.

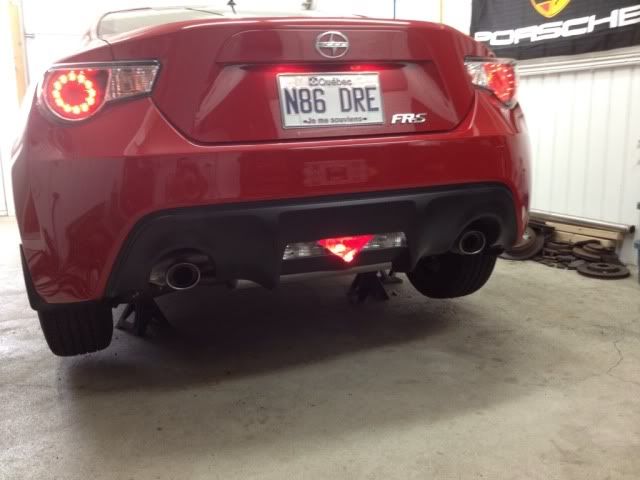
Now put everything back together, turn your headlights on and enjoy!!!
Do you have a part number for the lamp socket?
ReplyDelete